Create an Interface with Python Transformation
In this tutorial, we create an interface between two materials using the Python Transformation feature. Specifically, we will explore the creation of an interface between Graphene and Ni(111).
Step 0: Open Materials Designer
We start with opening an instance of the Materials Designer Interface for creating and designing new Materials structures on our platform.
Step 1: Import Materials
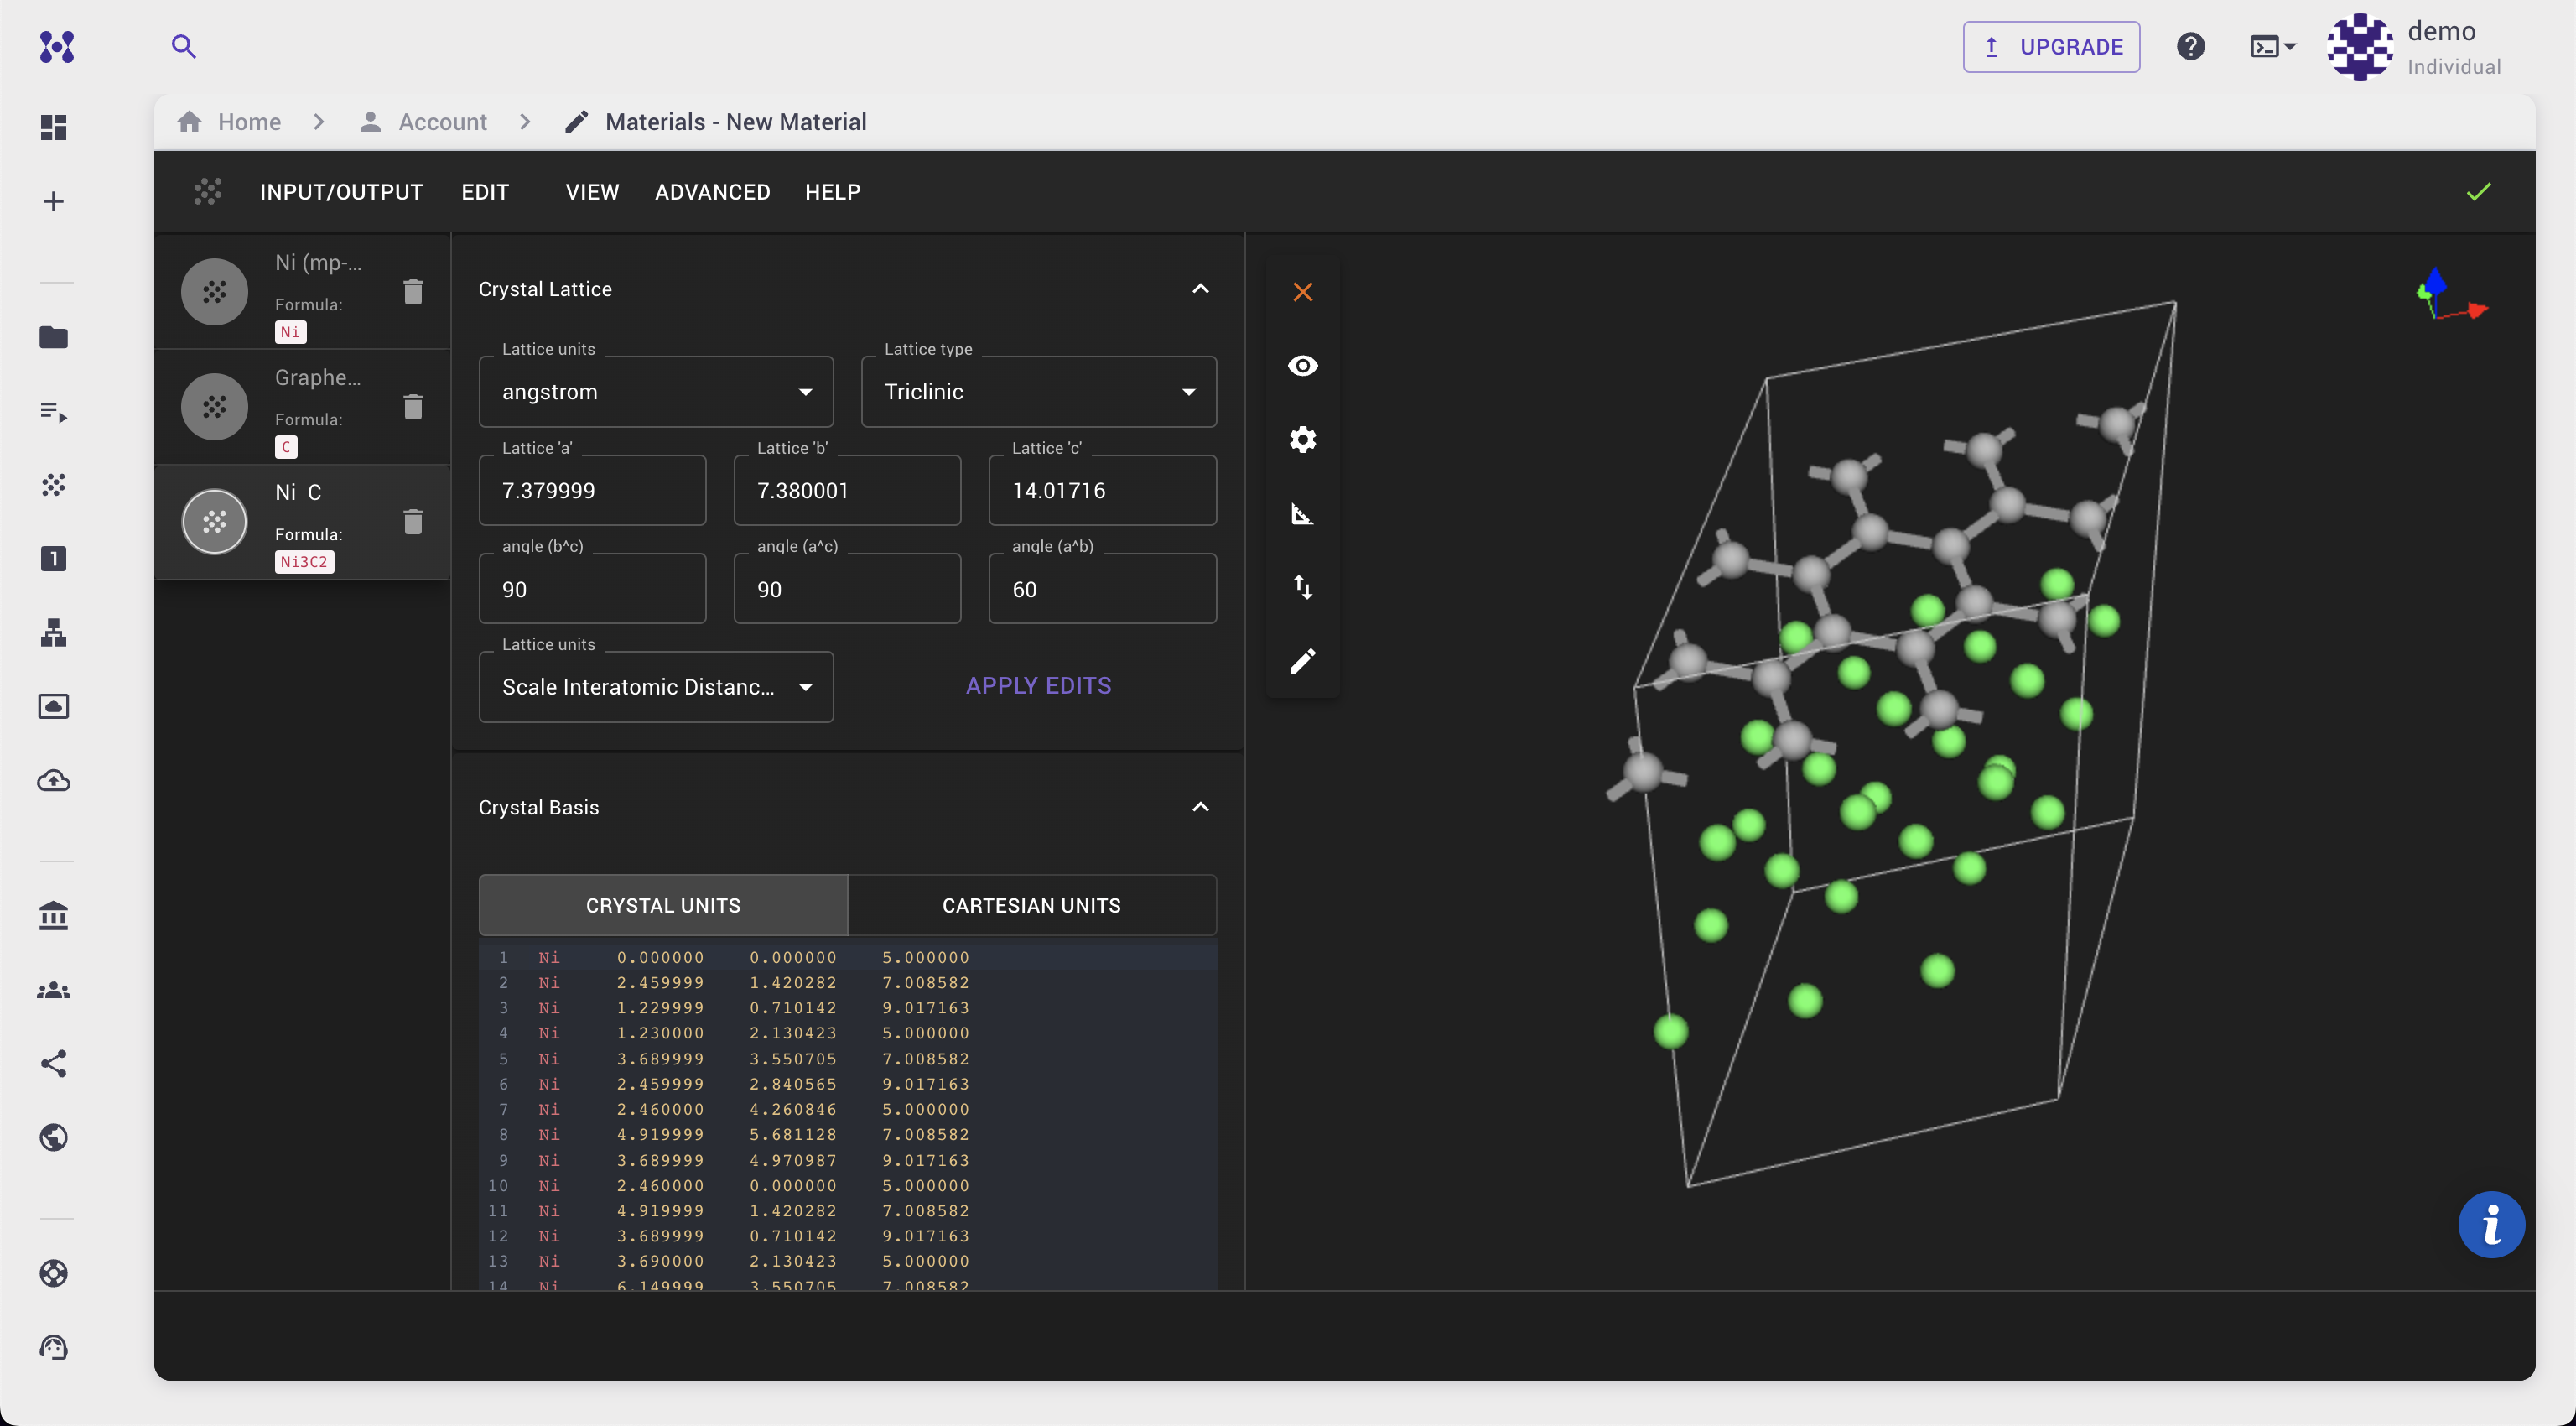
In order to use Graphene and Ni, the user should first import sample crystalline structures of the two respective materials into the current Materials Designer session, from the account-owned collection of materials.
Another option is to use materials from a Standard Materials Dataset via Import from Standata.
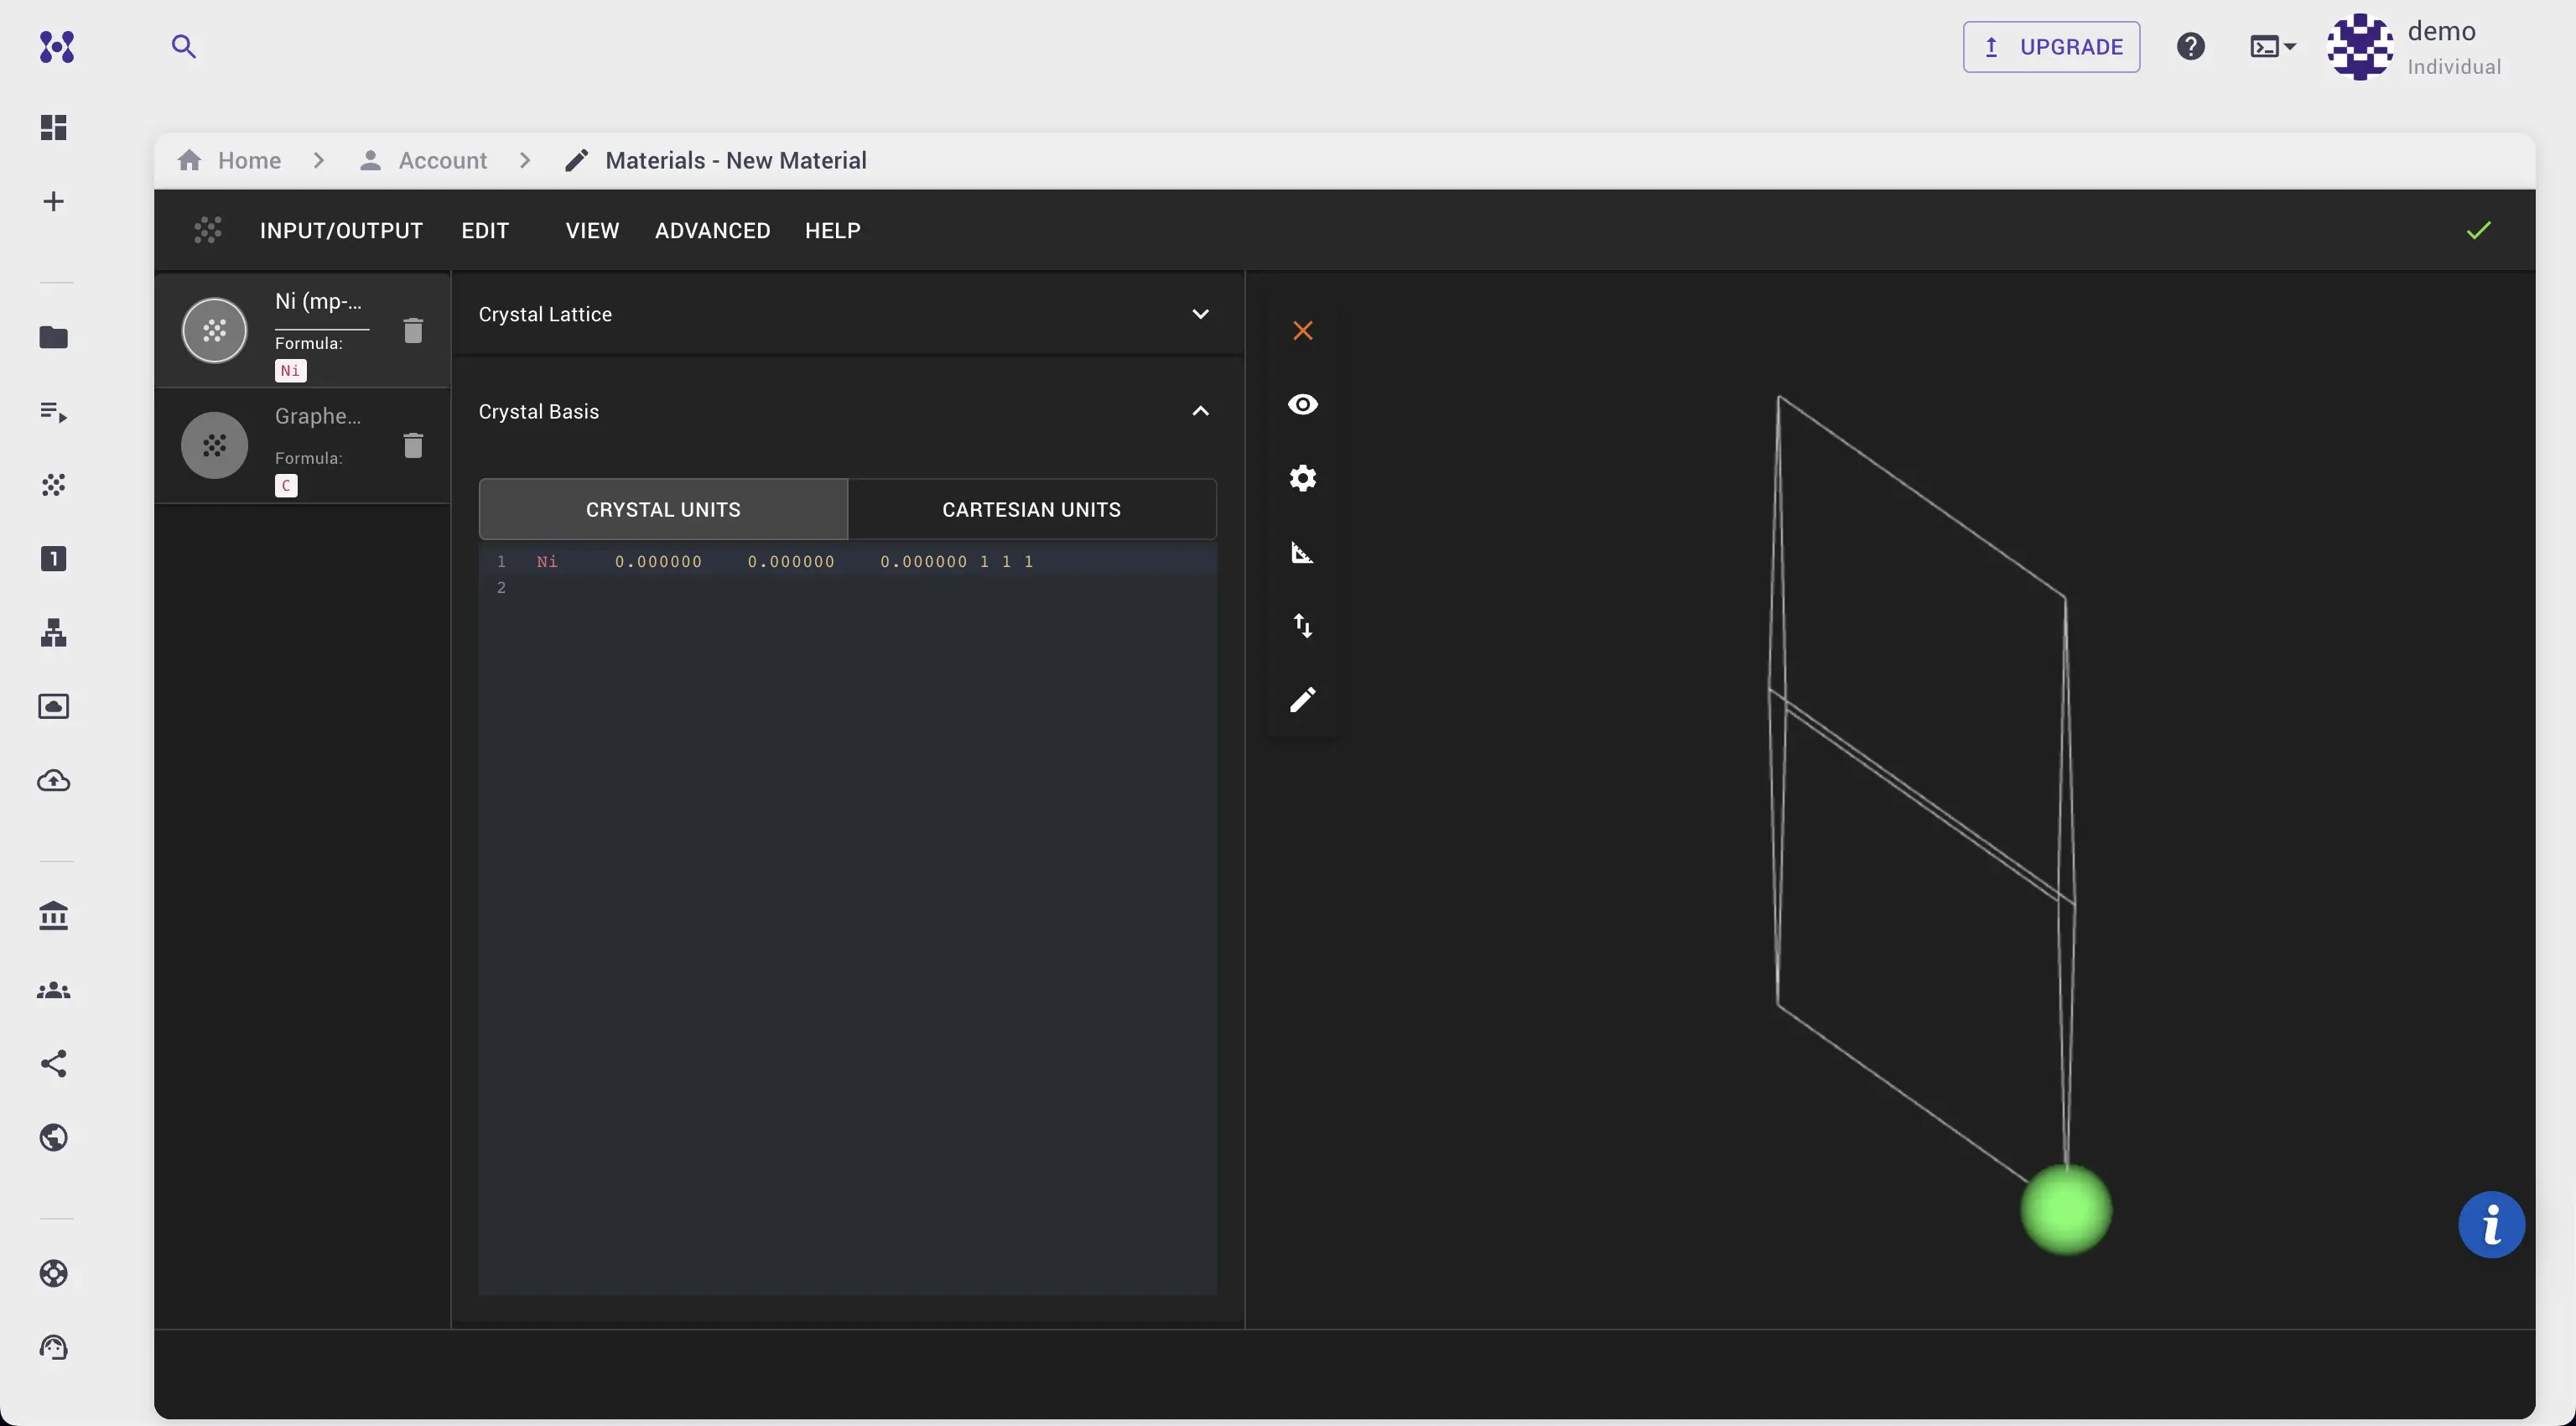
After importing, Graphene and Ni should be available in the materials list.
Step 2: Use Python Transformation Dialog
Navigate to Advanced > Python Transformation from the main interface.
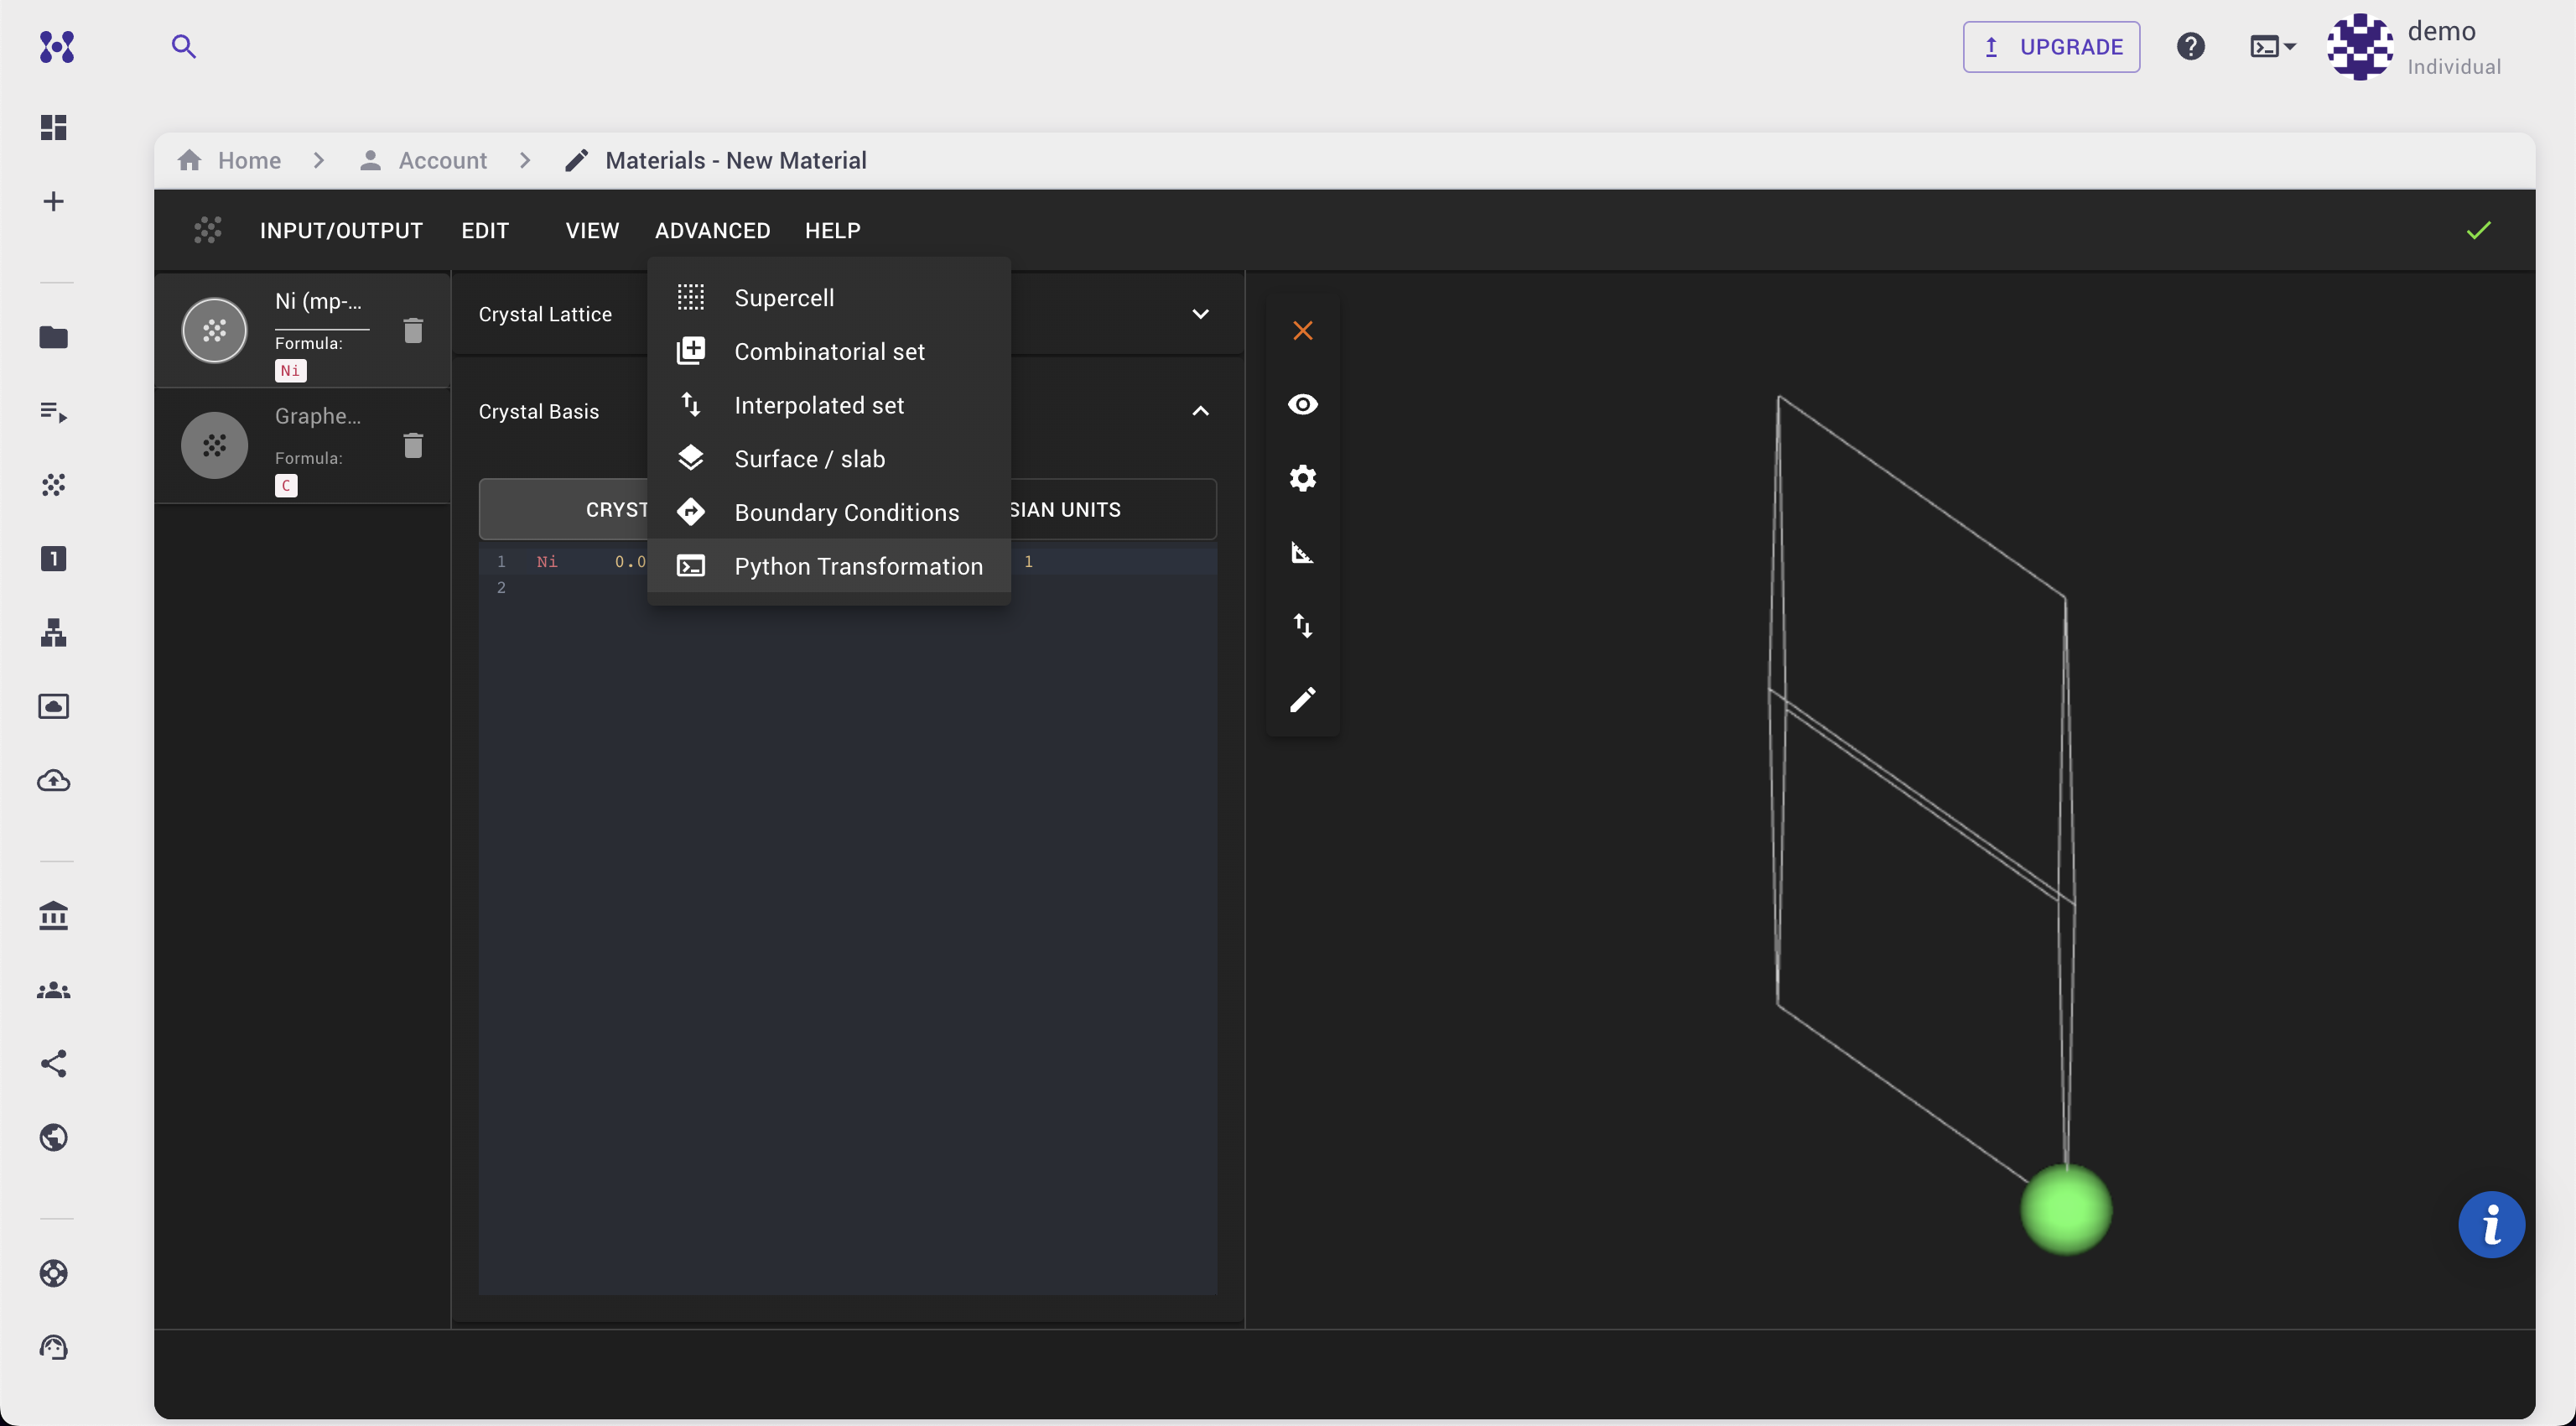
- Choose the transformation titled “Place a 2D materials Layer on a Surface”.
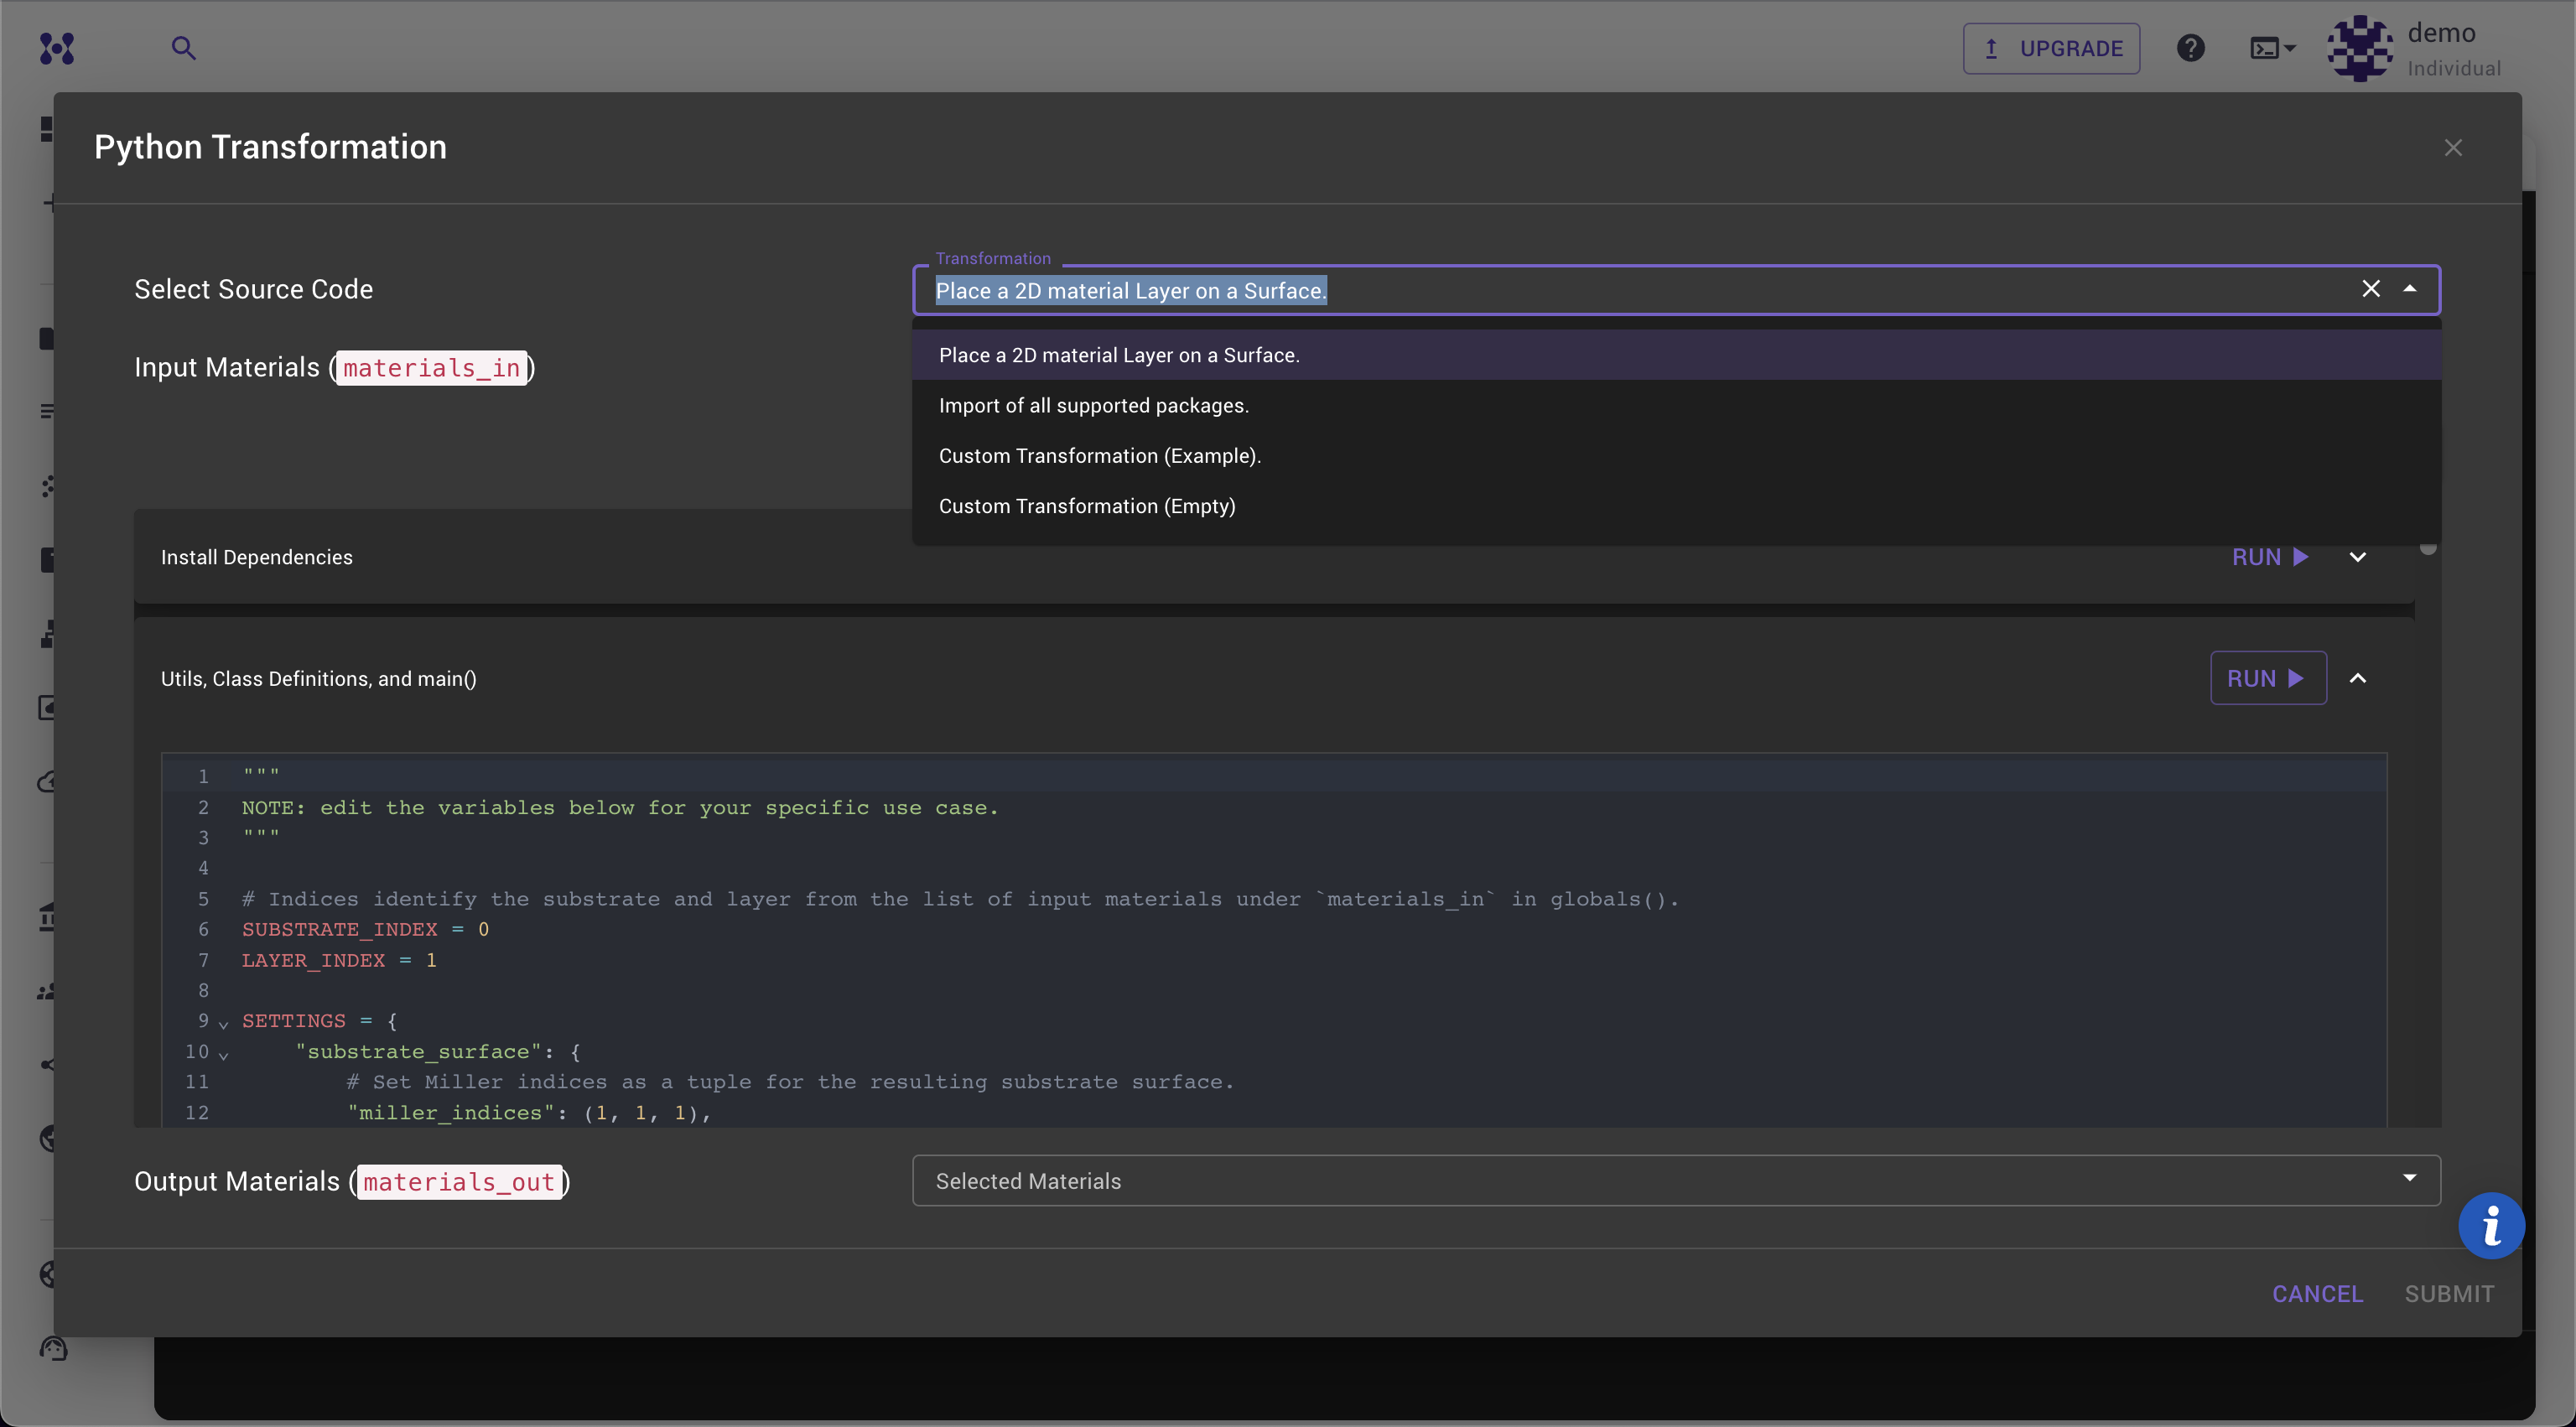
- Select Ni and Graphene from the materials list. The order of selection can be easily accounted for later, but the default expected order is substrate first and then the layer.

Key Considerations
The user is responsible for calculating the appropriate superlattice matrices to ensure realistic interfaces.
Excessive straining during the scaling of the layer can result in unrealistic deformations, so use scale_layer_to_fit cautiously.
In the Python code area:
- Set the substrate index and layer index corresponding to the Selected Materials. In this example, the substrate (Ni) should be at index 0 and the layer (Graphene) at index 1.
- Customize the
SETTINGSfor your specific use case, including:- Miller indices for the substrate and layer, the default value is (1,1,1) for substrate and (0,0,1) for 2D layer.
- Vacuum space and number of layers, we can leave it at default values.
- The distance between the substrate and the layer in Angstroms.
- Superlattice matrices which should be precalculated for a good lattice match. For Graphene on Ni(111) matrix [[1,0], [0,1]] for both materials already provides a good match since lattices are of the same type (hexagonal) and have similar vectors.
- Flag
scale_layer_to_fitscales 2D layer superlattice and basis to fit the superlattice of substrate. This is useful when the layer is not a perfect match to the substrate. In this example, we will leave it at default value ofFalse.
Click to view the Python code
# Indices identify the substrate and layer from the list of input materials under `materials_in` in globals().
SUBSTRATE_INDEX = 0
LAYER_INDEX = 1

SETTINGS = {
    "substrate_surface": {
        # Set Miller indices as a tuple for the resulting substrate surface.
        "miller_indices": (1, 1, 1),
        # The vacuum space (in Ångströms) added to the surface in the direction perpendicular to the surface.
        "vacuum": 5,
        # The number of atomic layers in the resulting substrate.
        "number_of_layers": 3,
        # The transformation matrix for the surface. Format is: [[v1x, v1y], [v2x, v2y]].
        # fmt: off
        "superlattice_matrix": [
            [1, 0],
            [0, 1]
        ],
        # fmt: on
    },
    "layer_surface": {
        # Set Miller indices as a tuple for the resulting layer surface: (0,0,1) for 2D material
        "miller_indices": (0, 0, 1),
        # The vacuum space (in Ångströms) added to the surface in the direction perpendicular to the surface.
        "vacuum": 5,
        # The number of atomic layers in the resulting substrate: 1 for 2D material
        "number_of_layers": 1,
        # The transformation matrix for the surface. Format is: [[v1x, v1y], [v2x, v2y]].
        # fmt: off
        "superlattice_matrix": [
            [1, 0],
            [0, 1]
        ],
        # fmt: on
    },
    "interface": {
        "distance": 3.0,
    },
    # If True the layer cell and basis vectors will be scaled to fit the substrate cell.
    # Mind the strain that is introduced by this operation.
    "scale_layer_to_fit": False,
}
- Click
Run Allto process the transformation. - The strain matrix will appear in the output, providing insight into the lattice deformation.
-
Output Materialswill update with the newly created structure.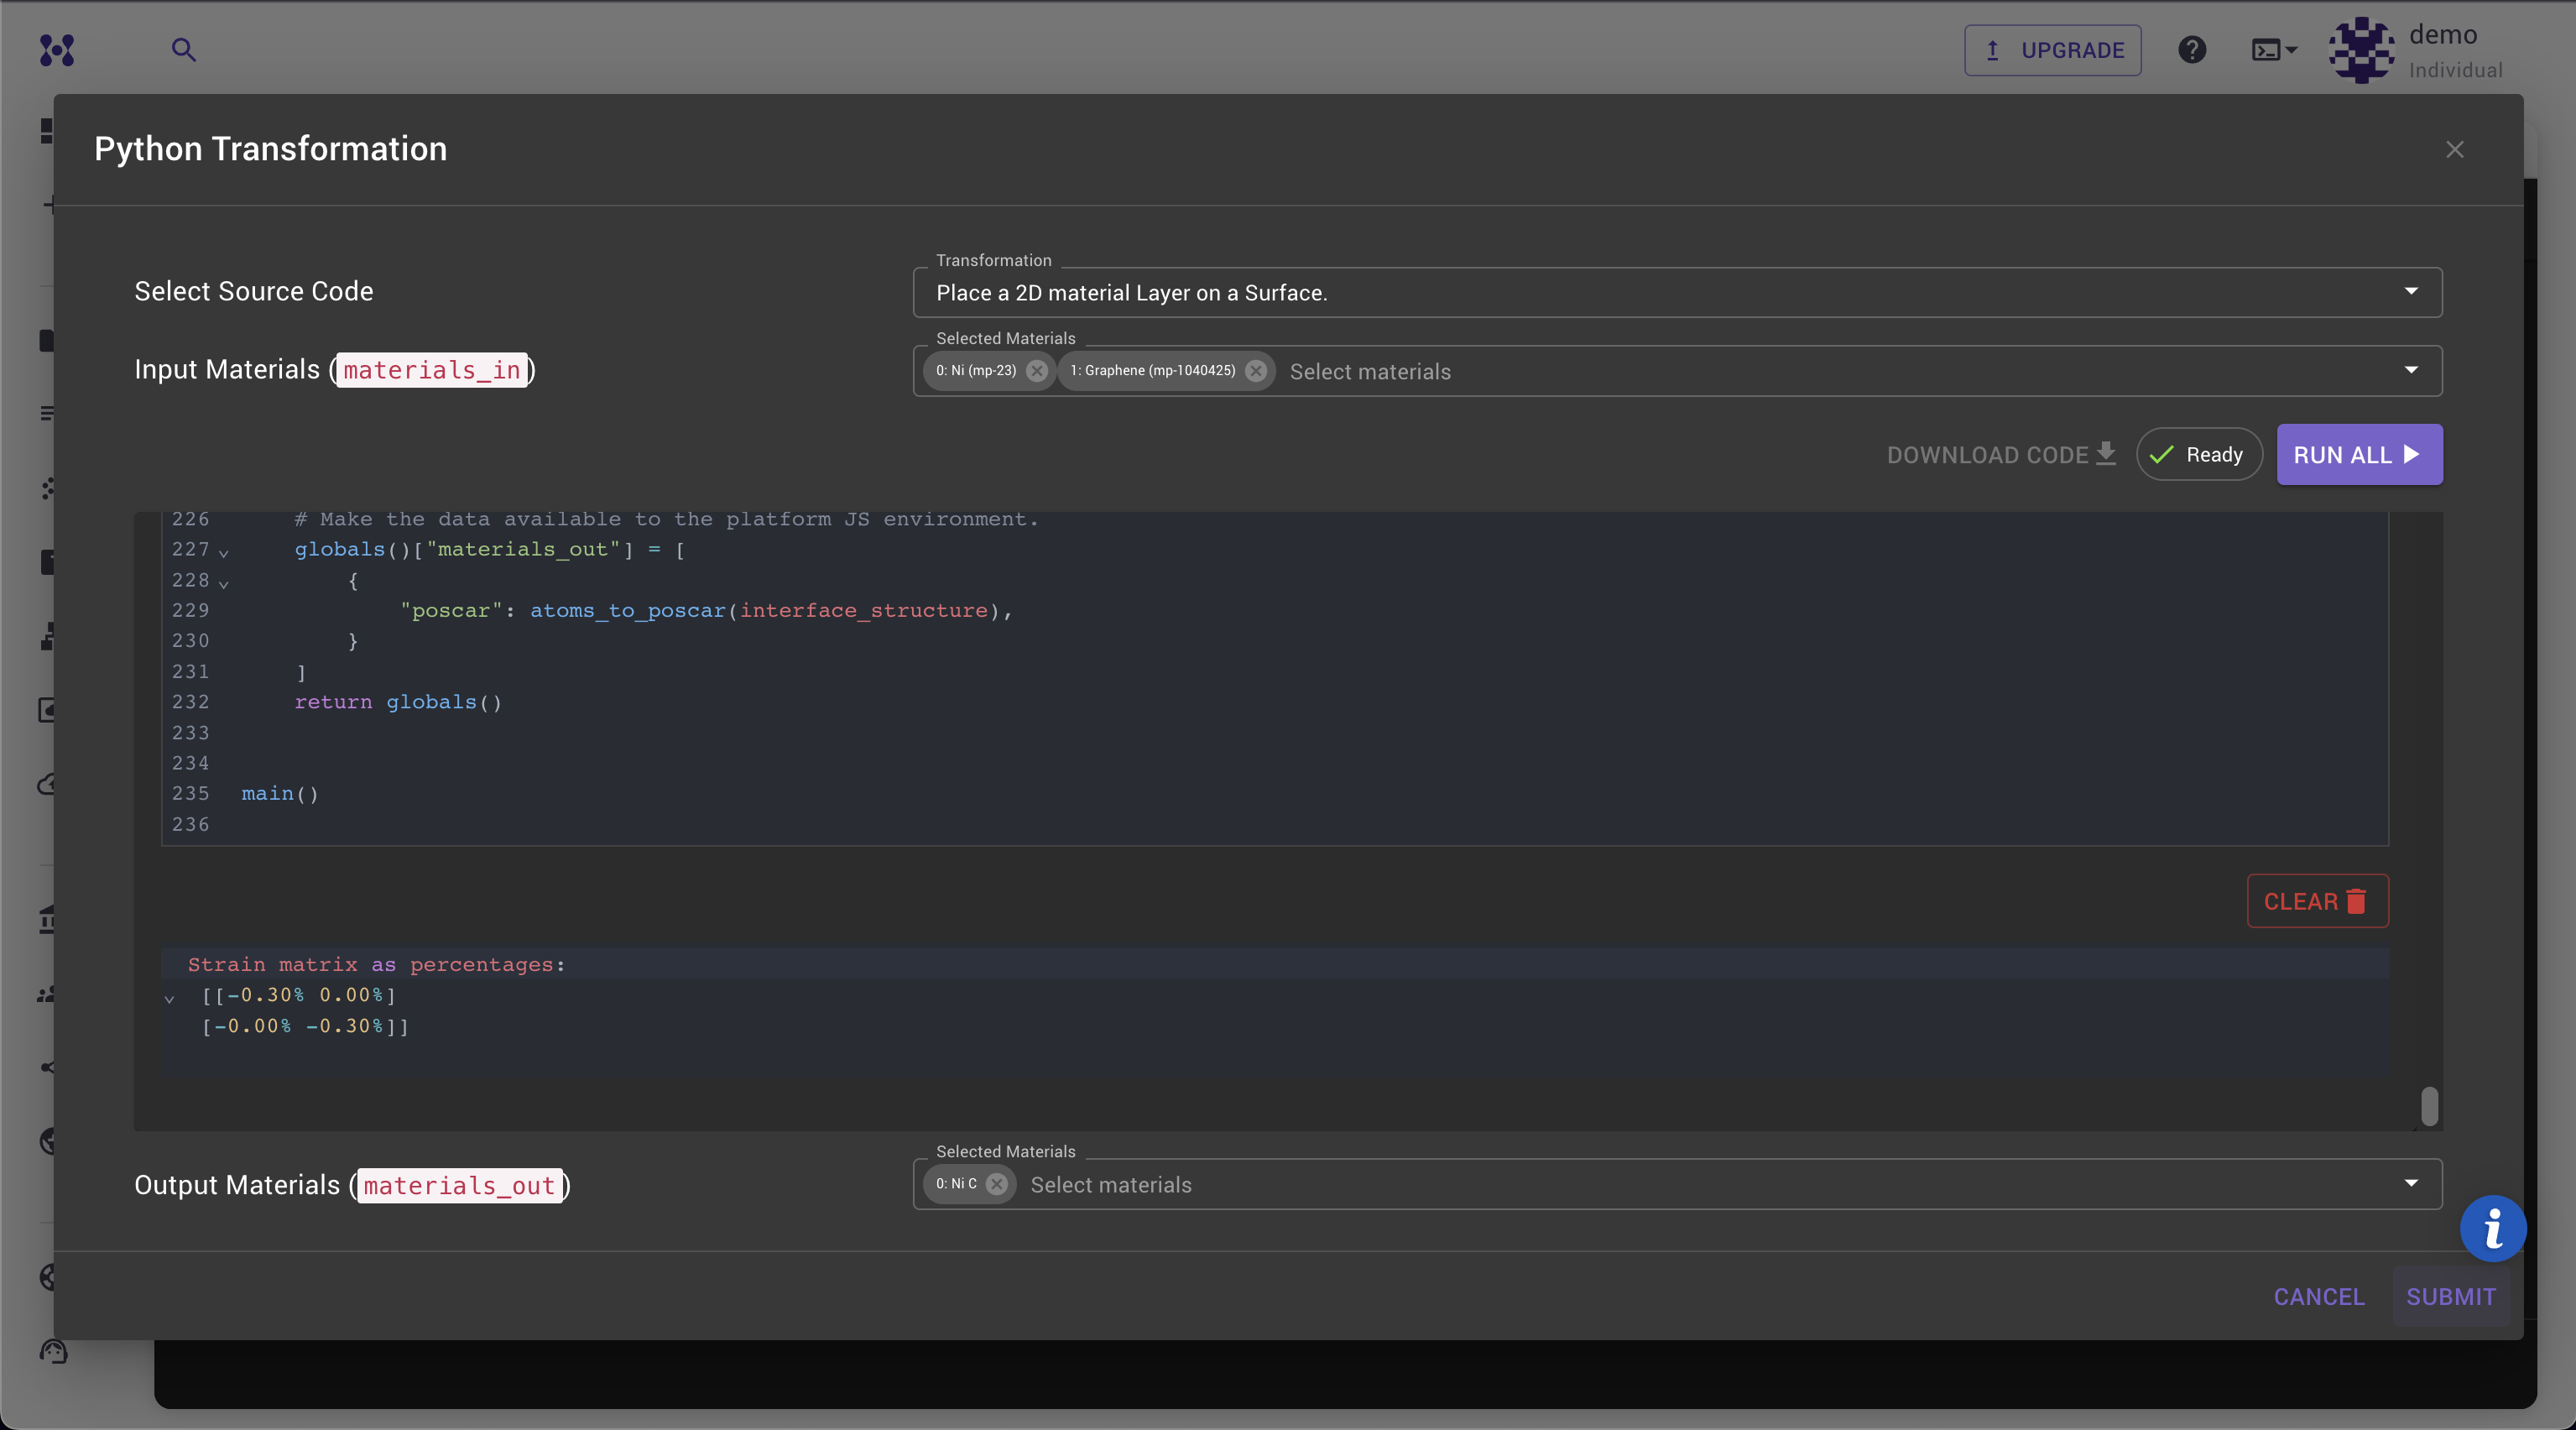
-
Review the resulting strain matrix, if satisfied, submit the form to add the interface to your materials collection.
-
Verify the final structure using the Orthographic camera in the 3D Viewer to ensure proper alignment and centrality of the layer over the substrate.
-
Resulting Material with unit cell repeated 3 times in A and B directions: